
What is an ISO?
An ISO is a file that is an exact copy of an optical disk. It mimics the contents of a CD that would normally be inserted into an optical drive. An ISO file can be burned to a USB drive and used to install operating systems like Windows and Linux. Additionally, it can be used to install diagnostic tools or custom versions of Windows for system recovery, such as Hiren’s BootCD.
Disclaimer
While we can download Linux and Windows for free, always make sure to buy the appropriate licence for an OS that you plan to use for a long time.
Side note for MacOs : Apple’s Licensing Agreement: Apple’s End User License Agreement (EULA) for macOS explicitly states that macOS is only allowed to be installed on Apple hardware. This means that even if you could technically emulate macOS, it would violate Apple’s licensing terms if you run it on non-Apple devices. And sadly, that’s why we won’t try to emulate it in this course.
Downloading An Operating System
Software for Emulating A Computer
Setting Up Your Computer For Virtualization
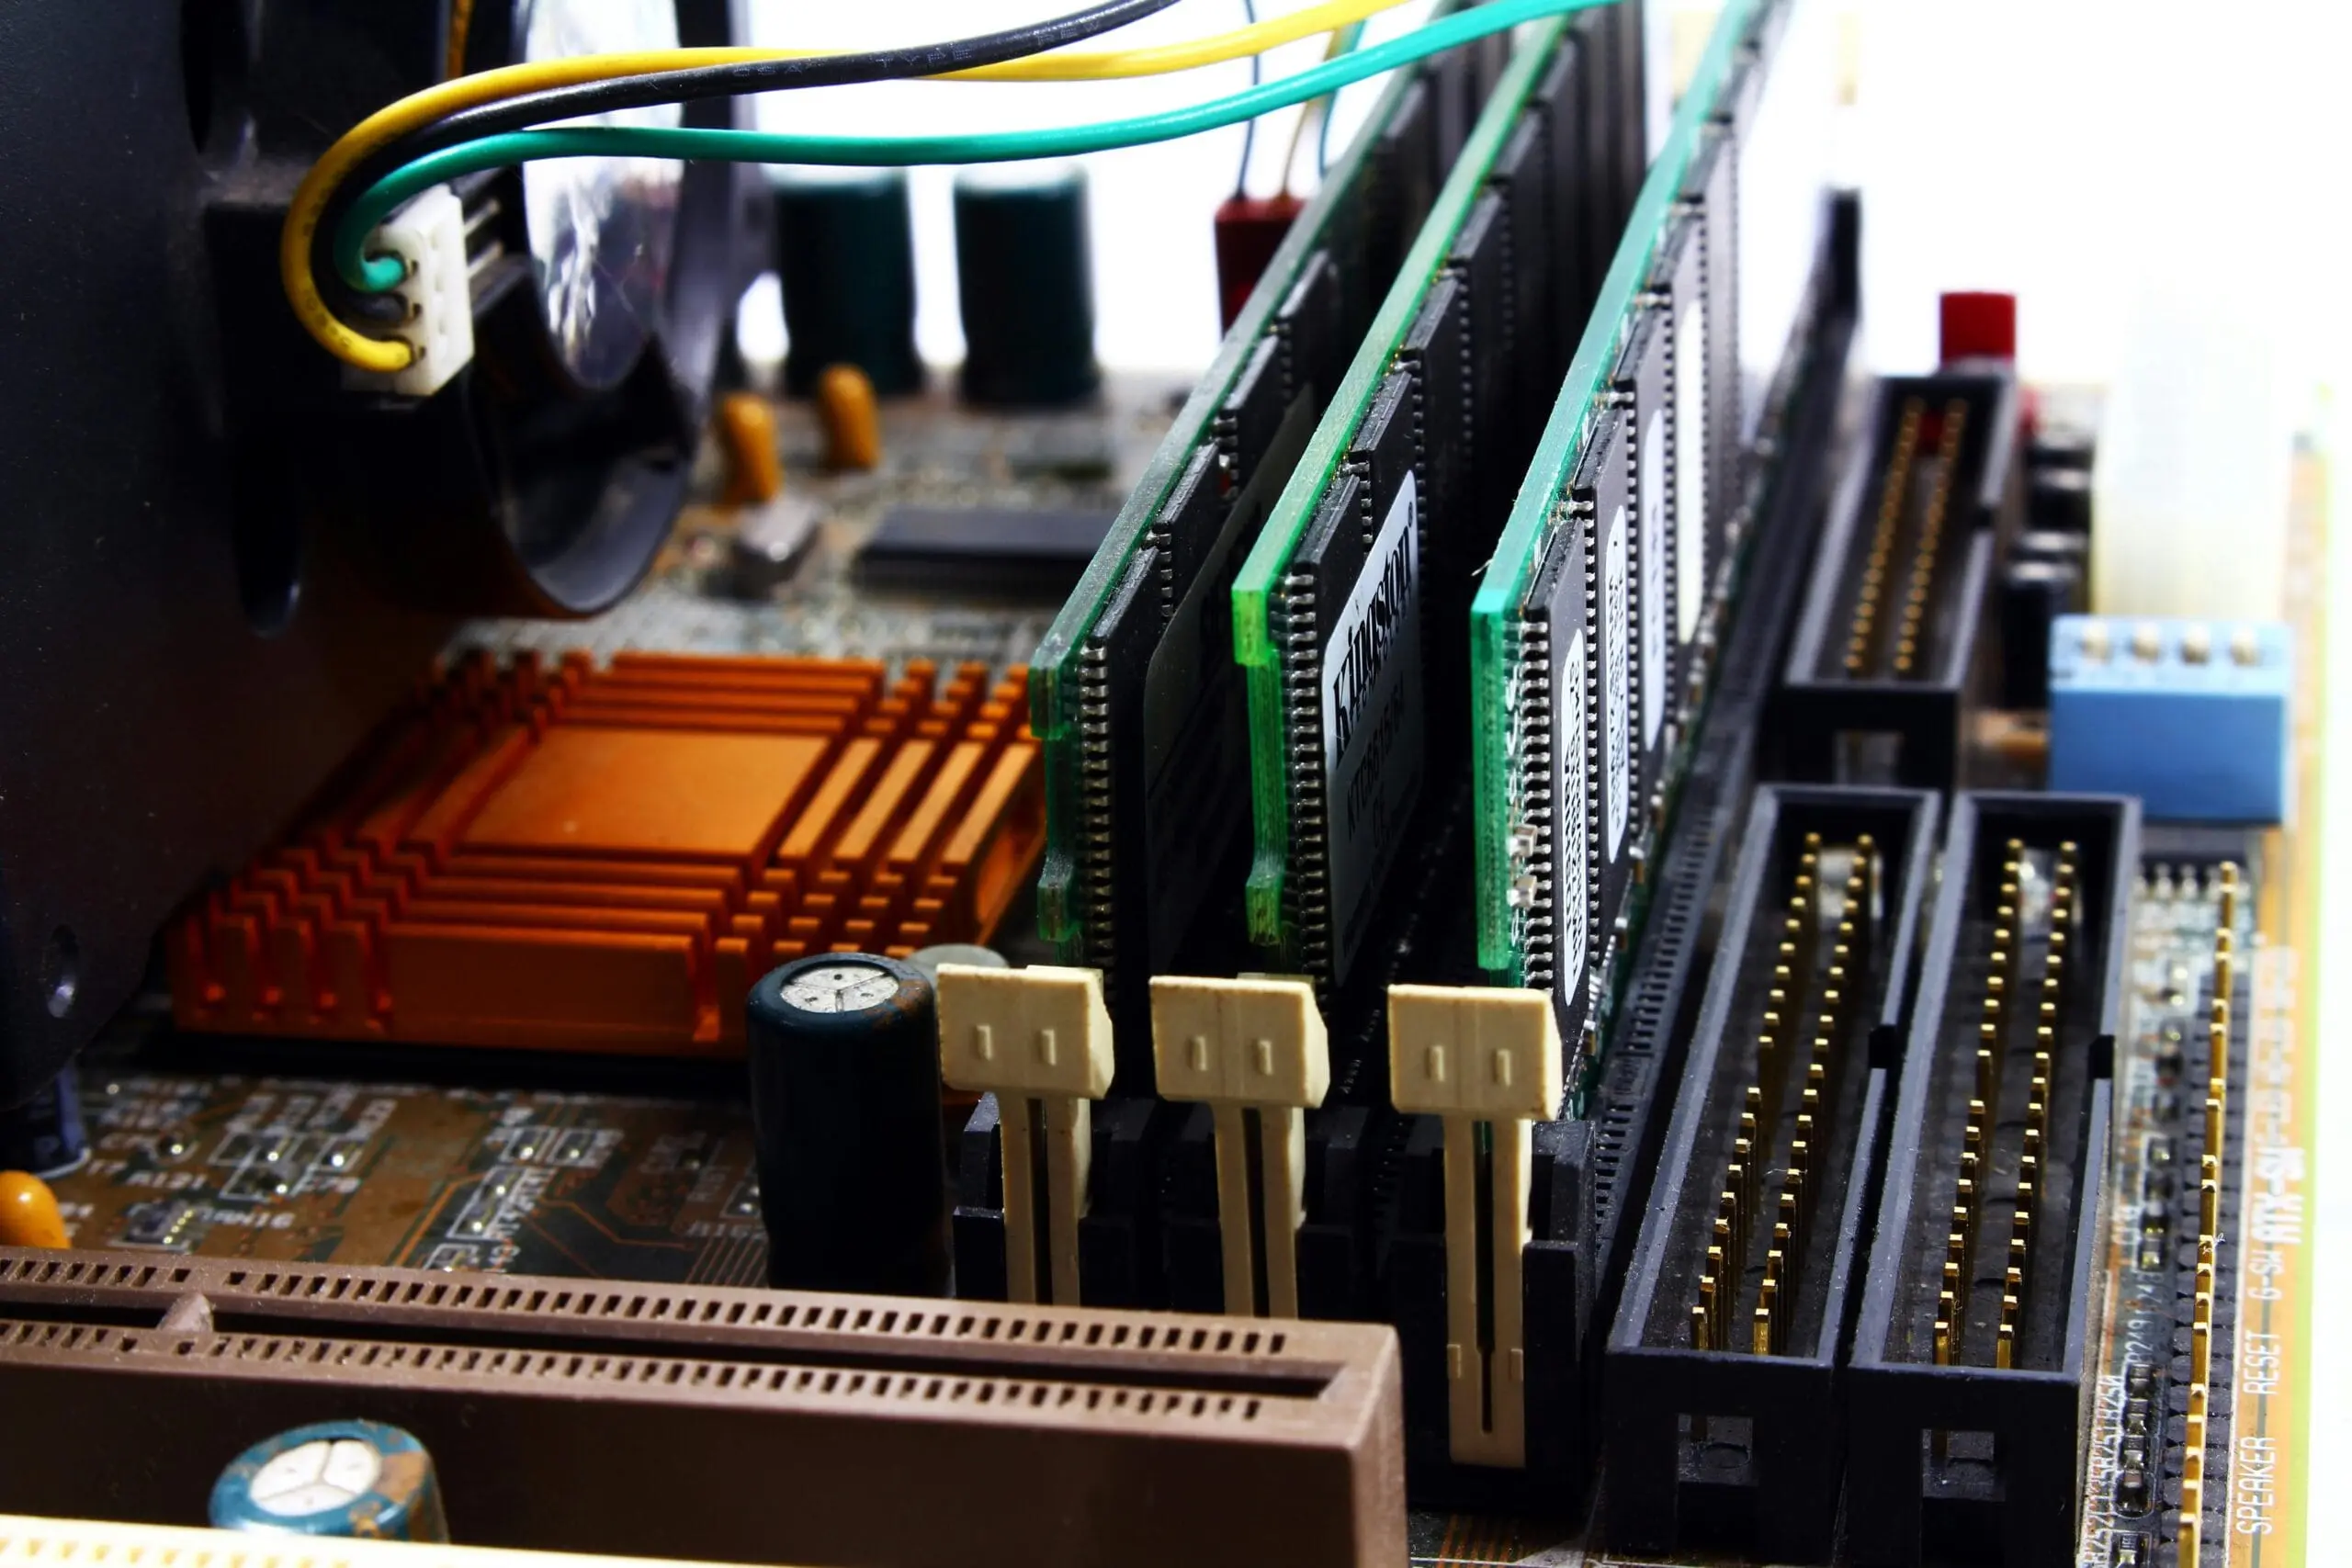
What is a BIOS?
The name BIOS stands for Basic Input/Output System. In simple terms, it’s a program that is embedded inside your motherboard. When you start your computer, it’s the first program that is launched to make sure that everything on your motherboard is functional. It will check step by step all of your hardware (POST). If something that is required to boot2 the computer is broken, it will give you a message on screen or beep sounds. The CMOS battery keeps the BIOS settings stored, such as date, time, and hardware configurations.
What is Virtualization?
Computer virtualization allows you to run multiple virtual machines on one physical computer. Each virtual machine has its own operating system and behaves like a separate computer. Virtual machines share the real computer’s hardware but work independently. This lets you test, develop, or run different systems without needing extra hardware.
How to Enable It?
To enable virtualization, you must access your BIOS. To do so, start your computer and hit the following keys :
- Del or Delete – Most common on desktop PCs.
- F2 – Common on laptops and some desktop PCs.
- F10 – Used by some HP systems.
- Esc – Some systems use this to bring up the BIOS menu.
- F1 – Less common, but used by certain manufacturers like Lenovo and older systems.
You might not get it on the first try. If you are unsure of the key, you can search your computer model + bios key on Google.
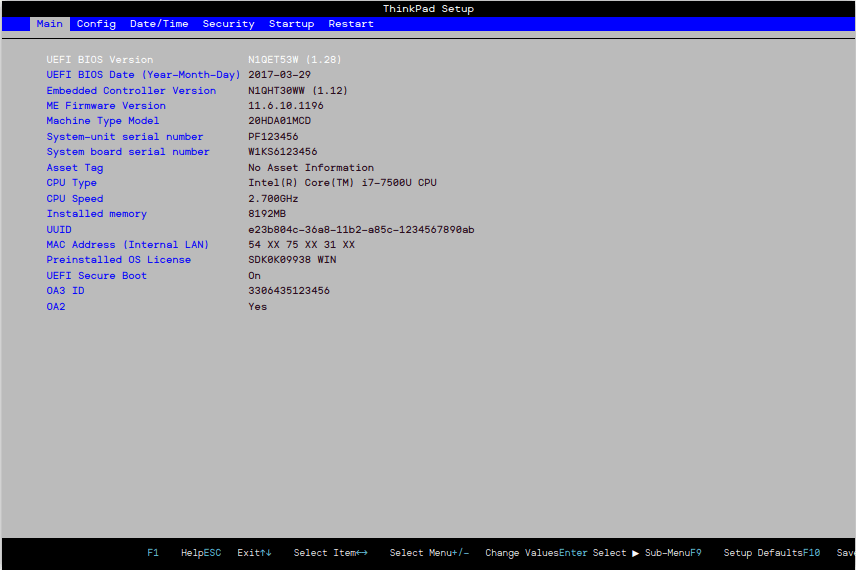
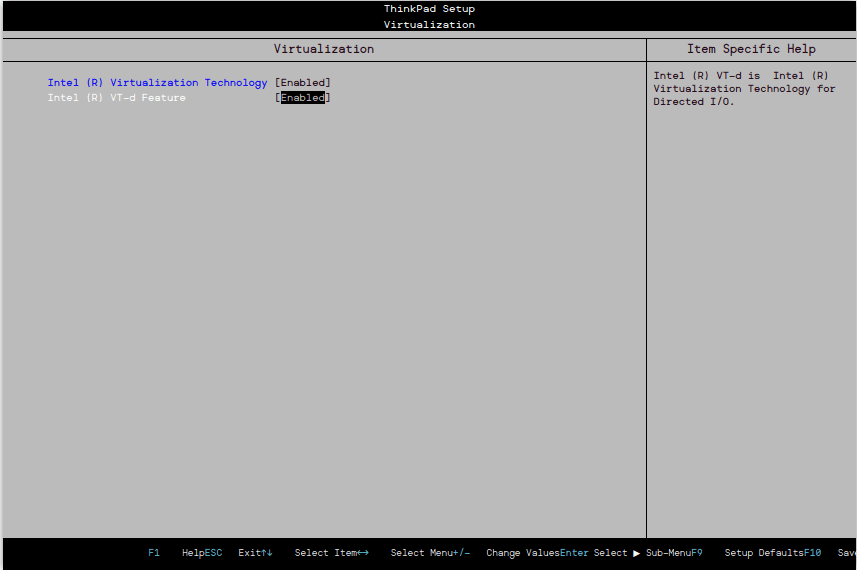
Once you enter the BIOS, it should look something like this :
To enable virtualization, you must find the following terms (it might be different for your computer if unsure, search your model name + virtualization bios):
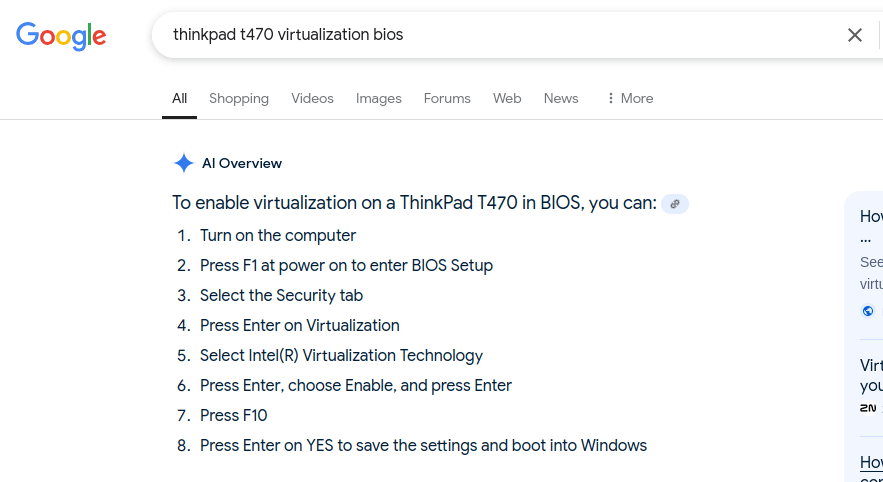
- Intel VT-x (Intel Virtualization Technology)
- AMD-V (AMD Virtualization)
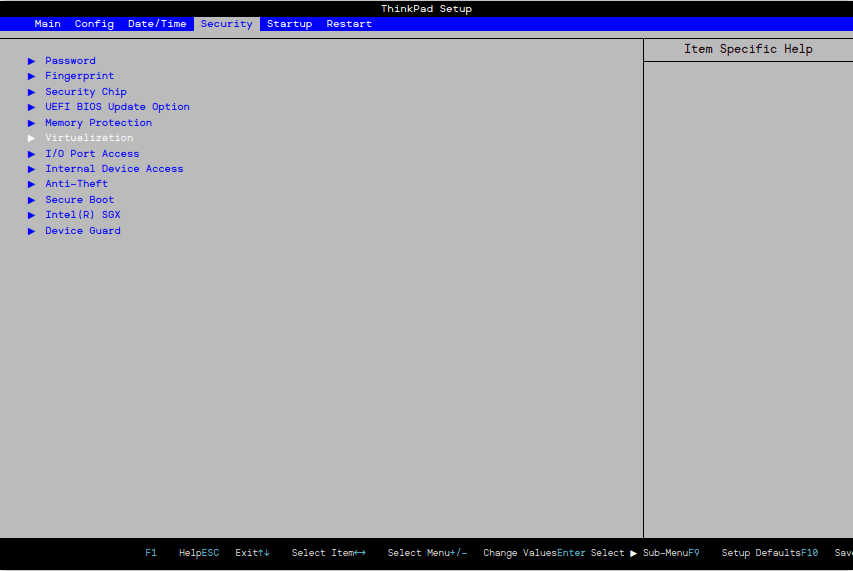
On my computer (ThinkPad t470) it’s called : Intel(R) Virtualization Technology
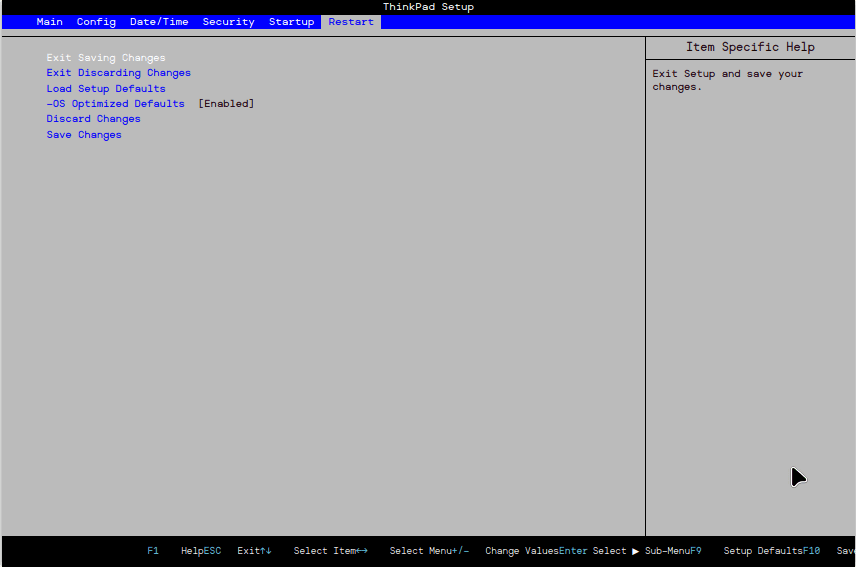
Once enabled, you can save your bios settings with the appropriate key and then reboot your computer. You should now be able to install and use a virtual machine.
To take a screenshot of the BIOS, I used this cool website : https://download.lenovo.com/bsco/index.html#/
Setting Up Your Virtual Machine
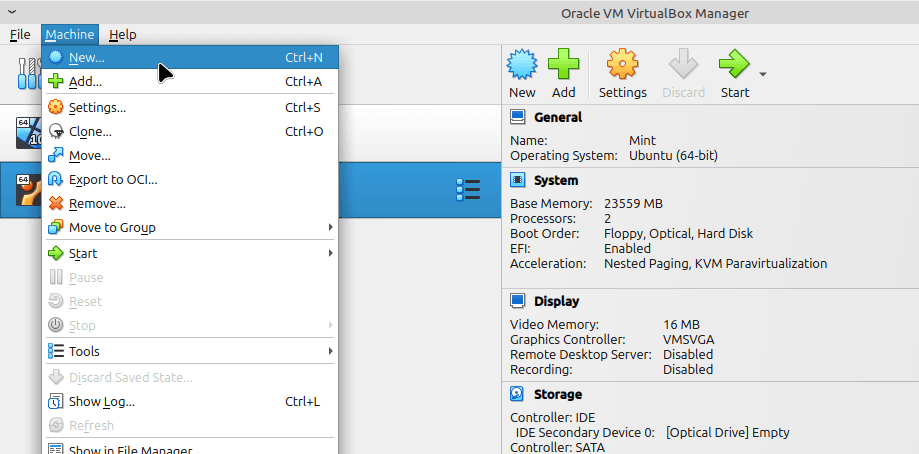
First and foremost, open VirtualBox from your start menu. Then click on the blue button “New” or go through the menu Machine –> New (CTRL + N).
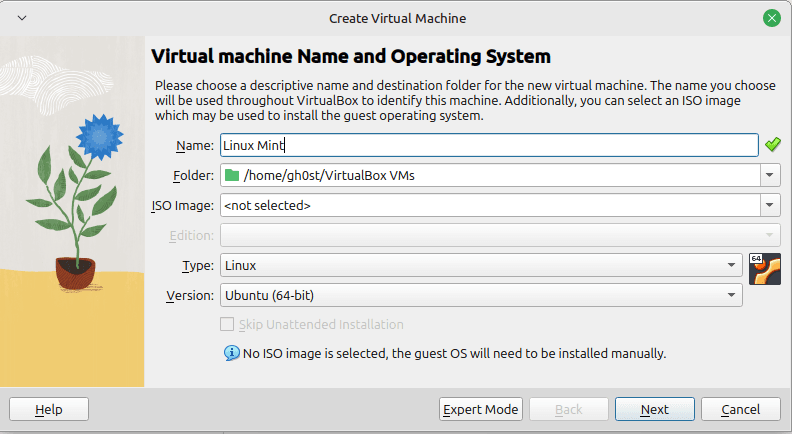
Choose the following :
- Name.
- Folder (I usually let it by default, but you can change it to a new folder) and yes I’m on Linux so you won’t see C:\ something for the folder but /home don’t worry it’s the same.
- ISO Image (Let it empty, we will select it when booting the machine).
- Type (Choose which system you will emulate, for this example it will be Microsoft Windows).
- Version (Pick the appropriate version of the system you have chosen, in my case Windows 10).
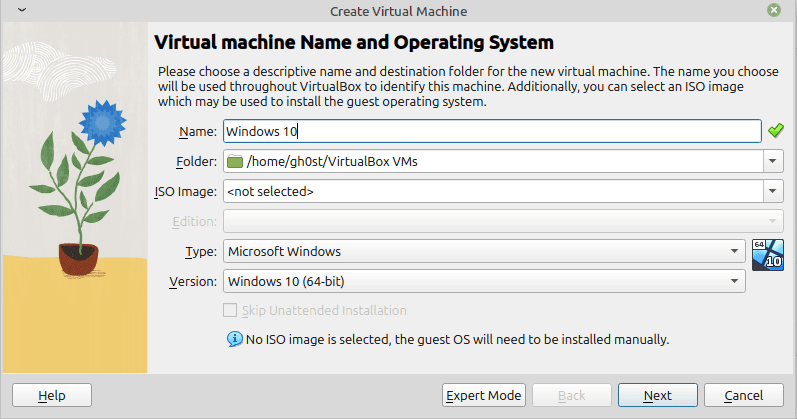
Then finally, click “Next”.
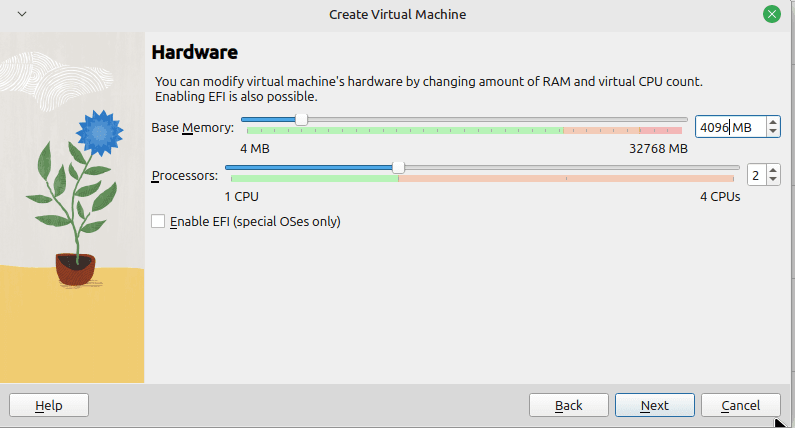
RAM & CPU
Decide how much RAM you will give to your machine and how many CPUs.
For Windows 10 4GB (4096MB) of RAM and 2 CPU should be enough. Make sure to always stay in the green zone.
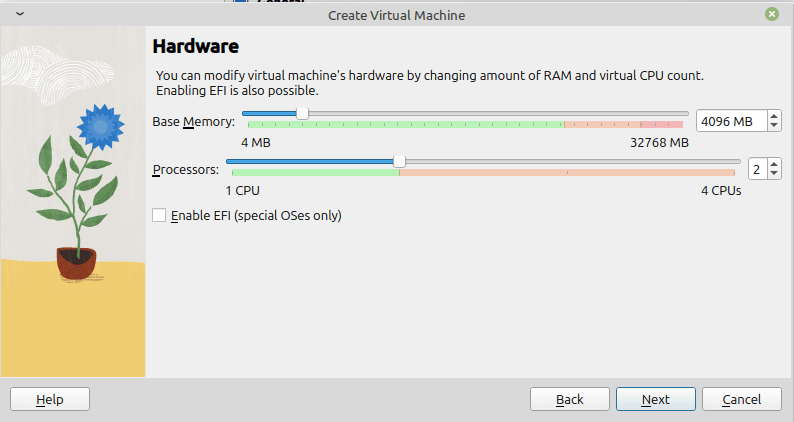
If you are not sure of how many RAM and CPUs to allocate, you can always search the following : OS name (Windows 10) Minimum requirement. You can then find how much RAM, CPU, and Disk space you need to allocate.
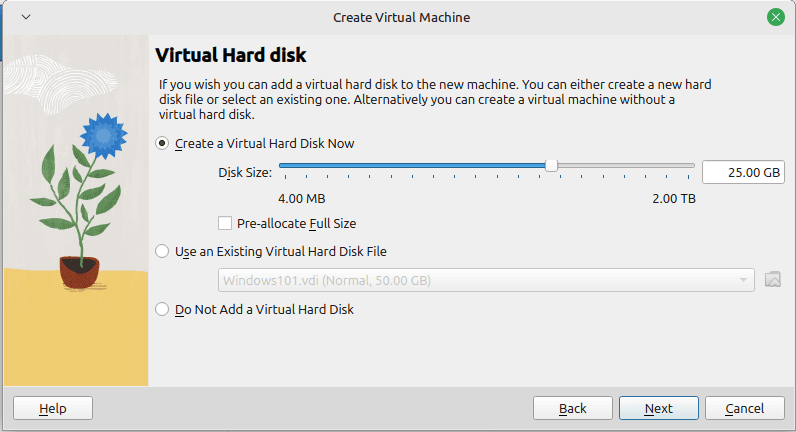
Click on “Next” and then select how many GB you want to allocate for the Hard Drive. For Windows 10, 50GB should be enough. You can give more if you plan to install a bunch of things.
Hard Drive
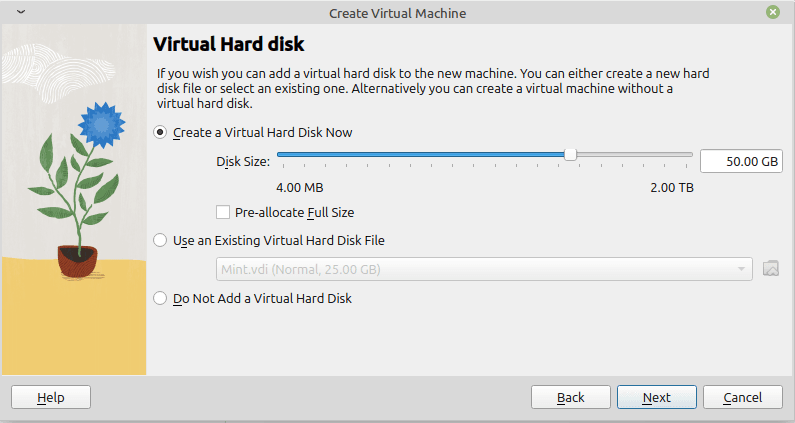
Click “Next” and then finally click “Finish”.
Network
To access the network settings, you can click on the orange setting button or CTRL + S.
Usually I leave it by default but if you want to make any changes to your network settings view this page for more information : https://www.virtualbox.org/manual/ch06.html
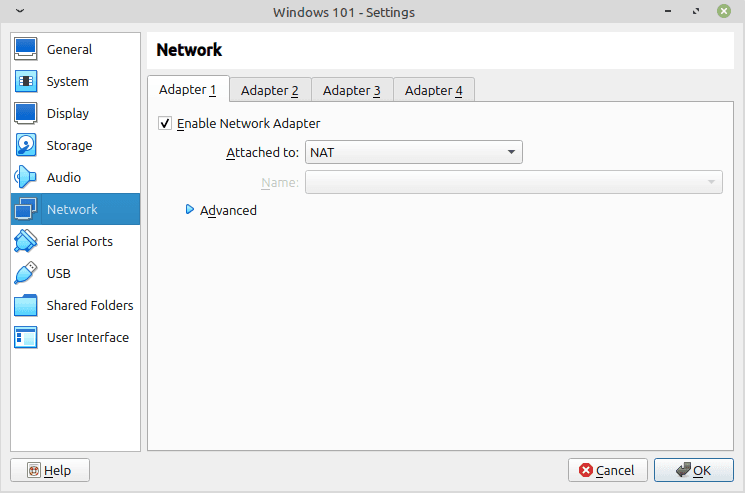
You can also access and modify the settings at anytime using the same button or keyboard shortcut.
Installing The System (Windows 10)
Before trying to install anything, make sure that you downloaded the ISO file of your choice. I provided download links at the beginning of the chapter.
Firstly, download the ISO file. In this example, I will use Windows 10.
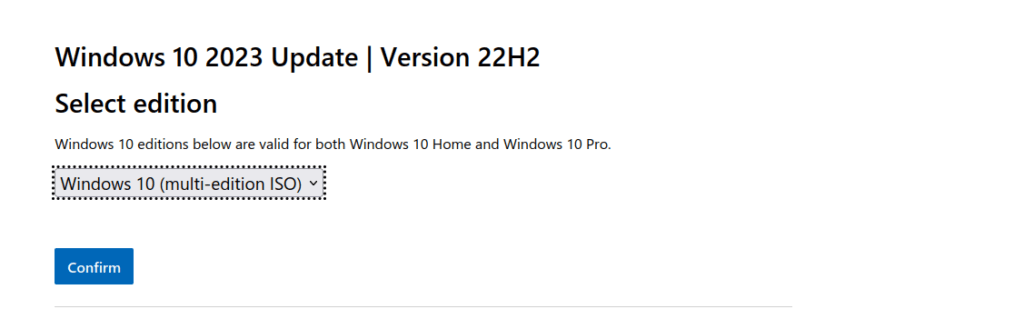
When Selecting The Language
Pick the option “English International”.
Once you have downloaded the file, you can go back to VirtualBox, select your machine and then click the “Start” button.

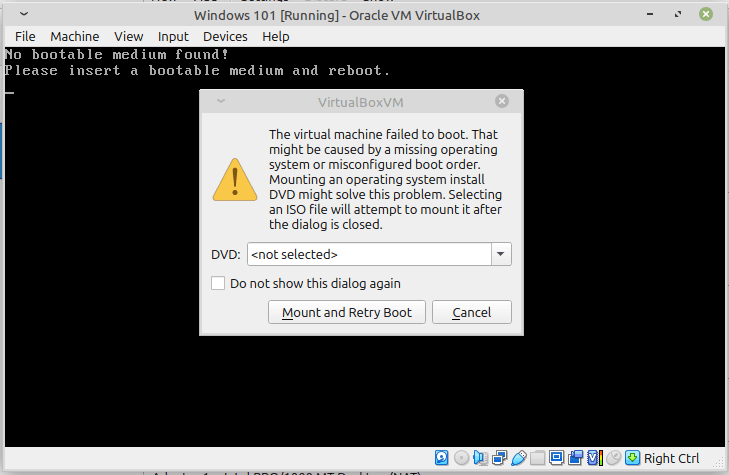
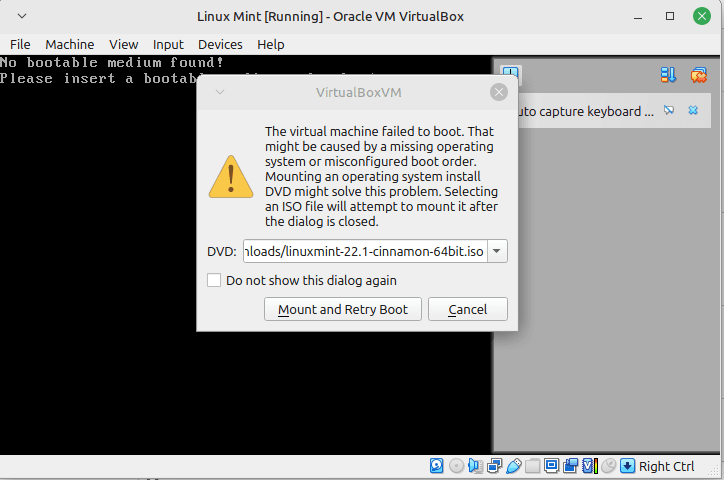
Now you will have the following error :
Tips & Tricks
When you click on the Virtual Machine screen, you might notice that your cursor is stuck there. If you want to get out of there just hold CTRL + F. You can change that shortcut in VirtualBox menu.
- Click on the down arrow on the right of <not selected>.
- Click on the “Other…” button and then select your ISO file.
Finally, click “Mount and Retry Boot” and it should start the installation.
If English is not your first language, and you have another keyboard layout, you can select it using the “Keyboard or input method ” option. Doing this will make sure that when you type something it will not appear as another letter.
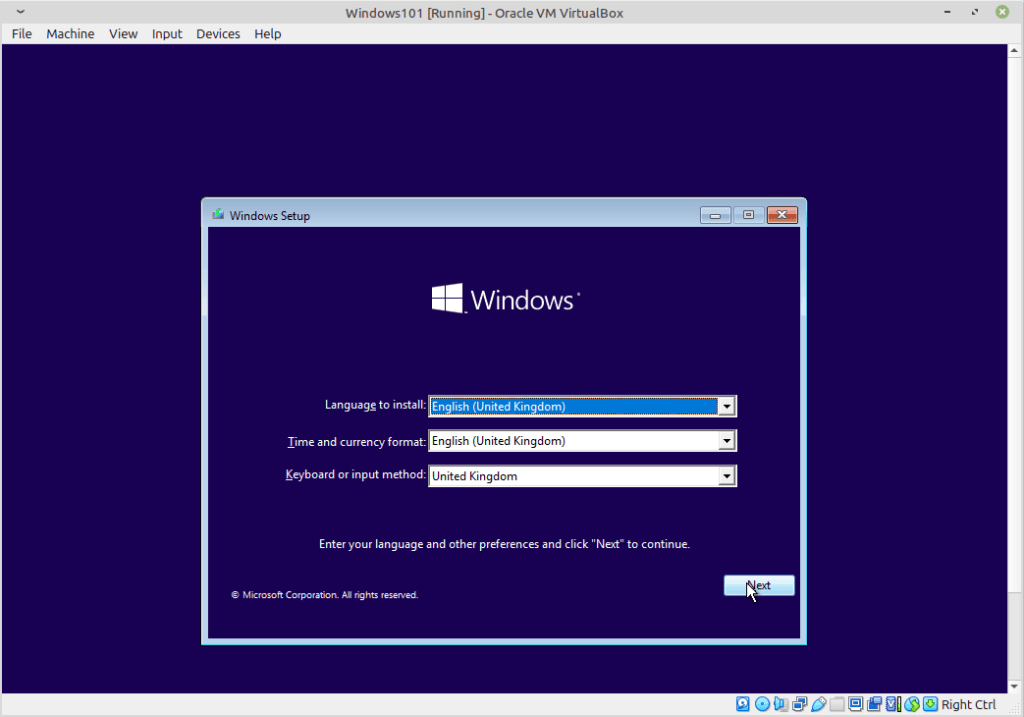
Click “Next” & “Install Now”.
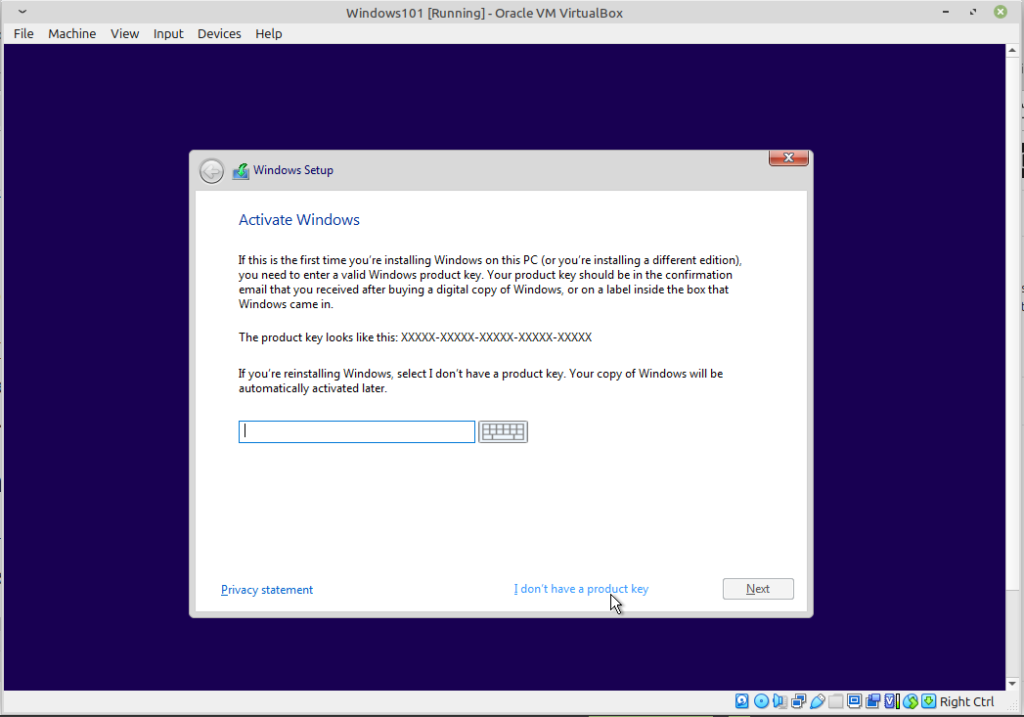
Alright, so now you can select “I don’t have a product key” at this step because we are only testing the system.
In the next step select “Windows 10 Pro”. The other versions have less features.

Accept the licence and then click “Custom Install”.
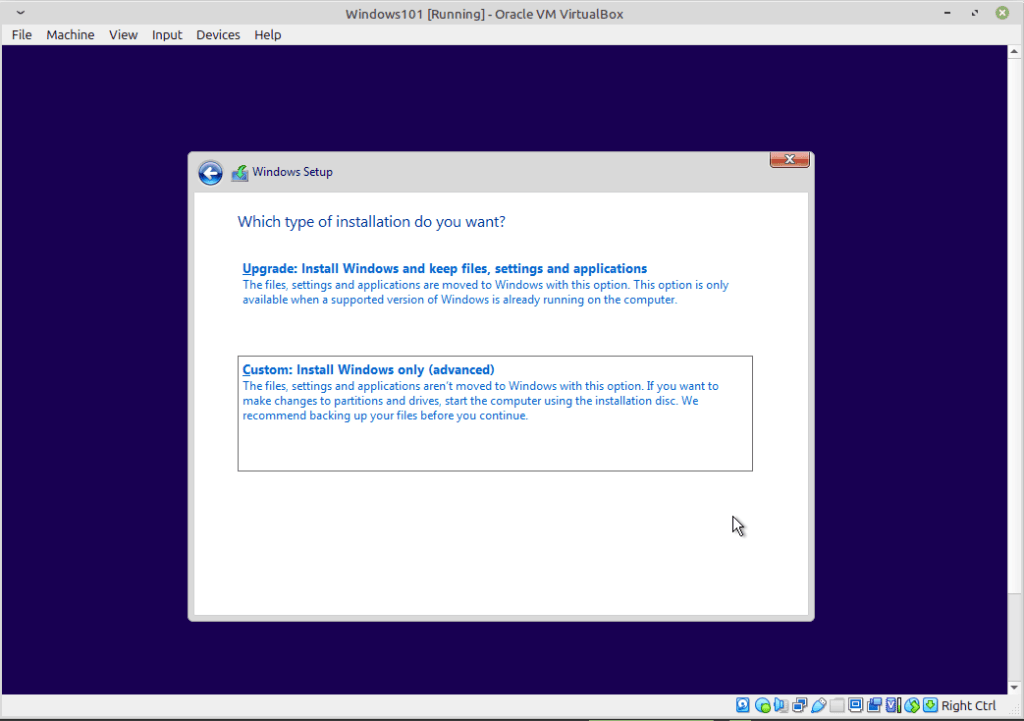
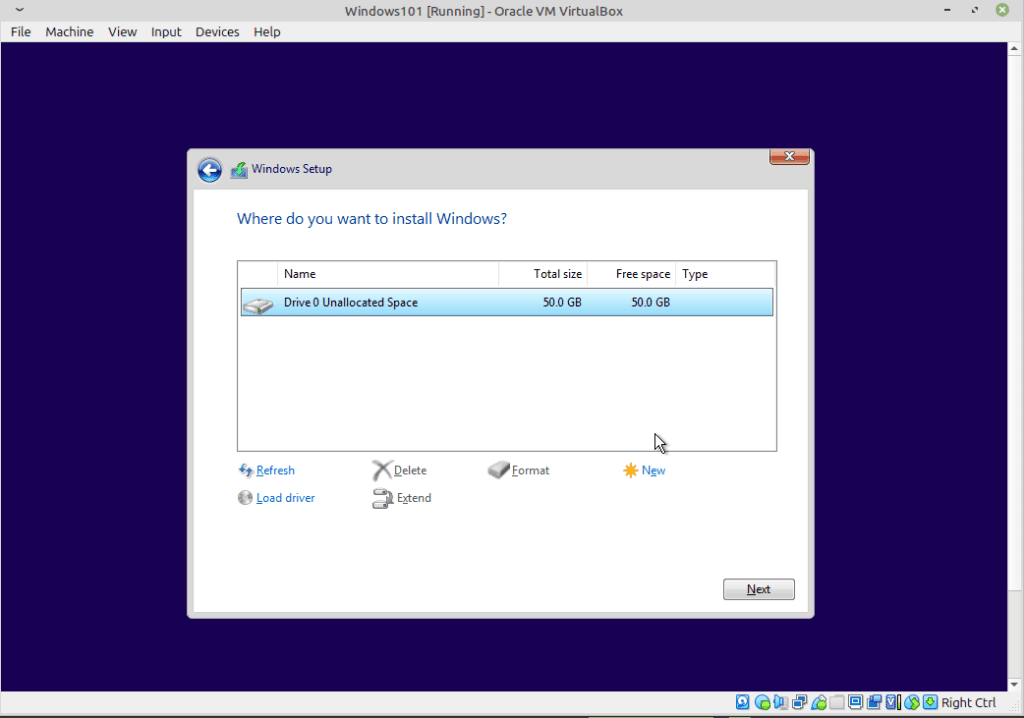
At this stage if you were installing it on a real computer you could see multiple drives. You could also decide to delete what is on the drive, format it completely.
Select the drive, make sure it’s the same size, and then click next.
Now all we have to do is wait. It’s a good time to take a break!
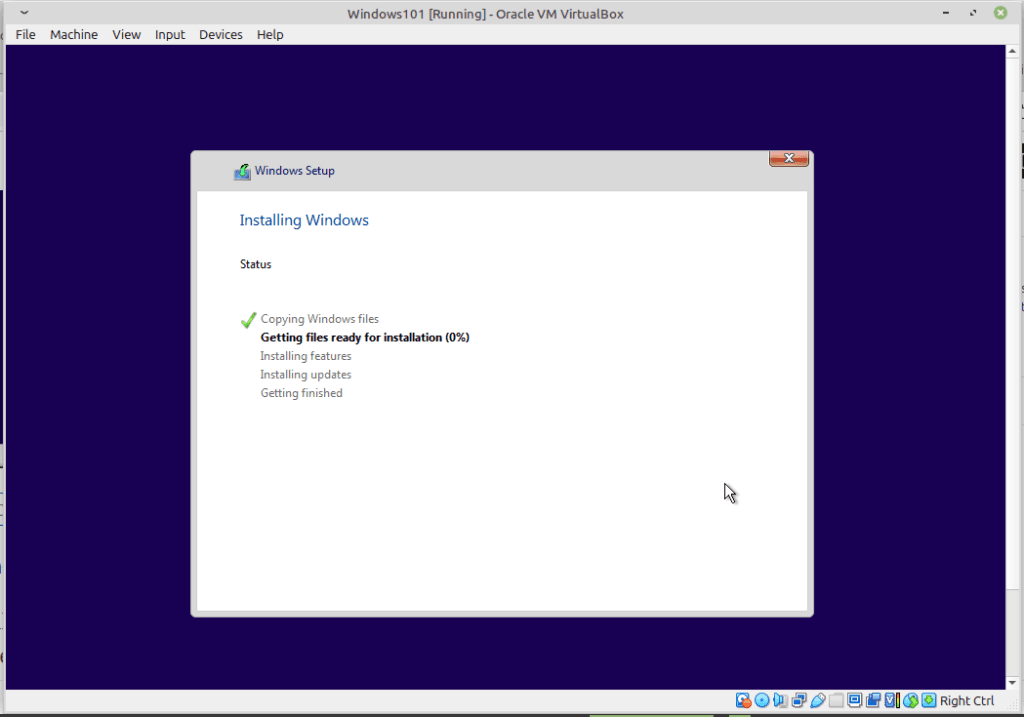
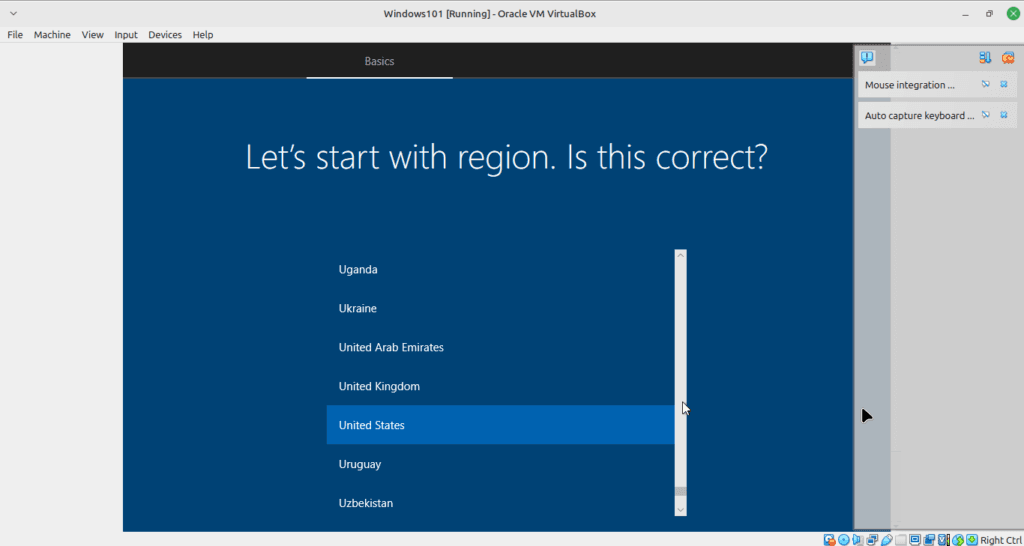
Once the loading is done, you should now have to choose a few options.
You can now decide your language, and region. I will select English and United States.
Once you reach this screen :
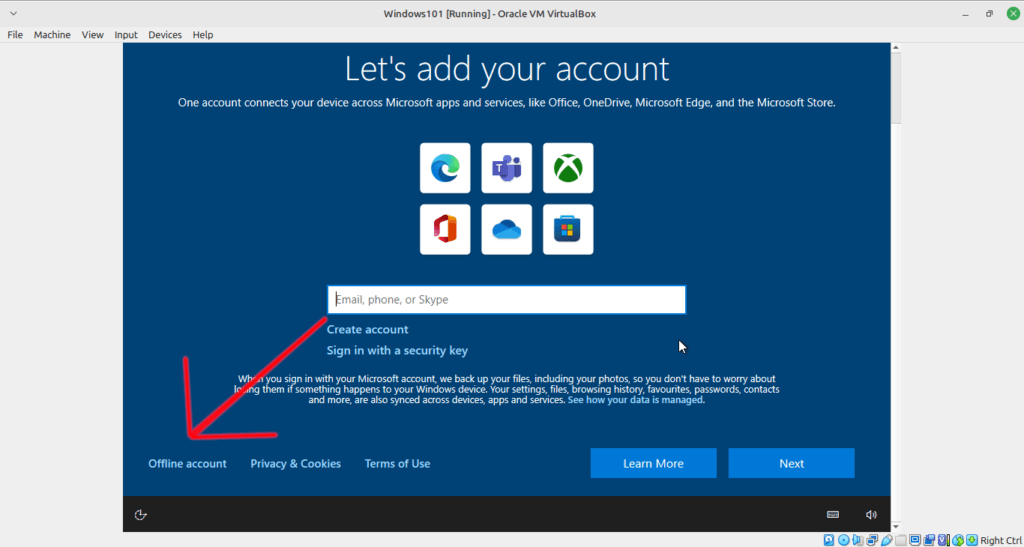
Make sure to select “Offline account”. If you click next without selecting that option, you will have to connect to Windows using your Microsoft account. The reason we want an offline account is that if you have any Windows activation keys tied to your account, it won’t use it for this VM.
When it asks you to sign in in the next page, click on Limited experience on the bottom left.
You can now pick a username and password for your Windows 10 virtual machine. Follow the rest of the instructions to finish setting up your system.
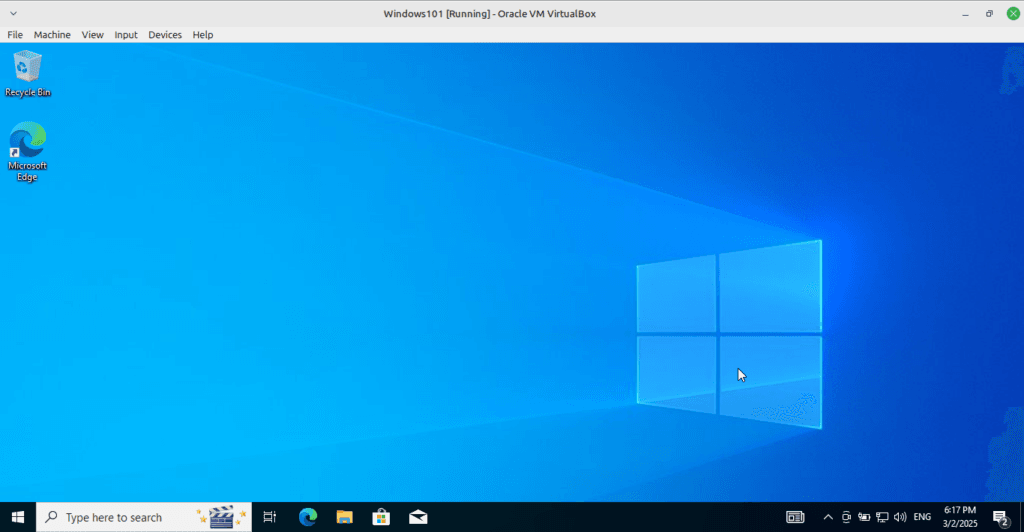
Congratulations!
You just installed Windows 10 and created your first ever virtual machine!
There’s just two problems now, right? The screen doesn’t fit properly, and the system feel slow.
Installing Additional Tools
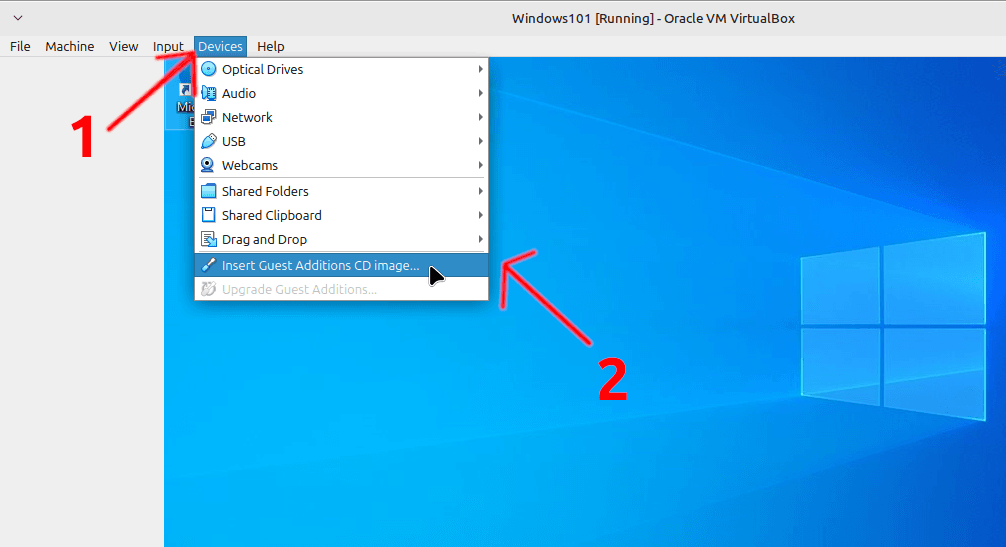
The installation of VirtualBox additional tools is essential to have better performance and experience. It also provides other functionality such as drag & drop and copy & paste between host and client.
To install, simply head over to the left side of your screen, find the “Devices” tab and then click on “Insert Guest Additions CD image…”.
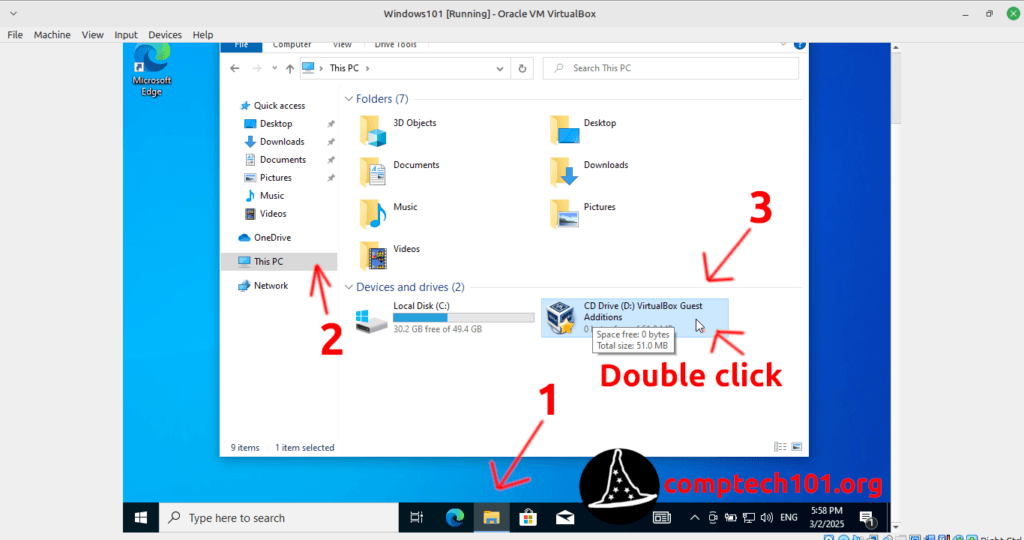
Now, if it doesn’t open automatically, you can
- Click on the document icon on the taskbar to open the file manager.
- Click on “This PC” on the left side of the file manager.
- Finally, double-click on the “CD Drive VirtualBox Guest Additions”.
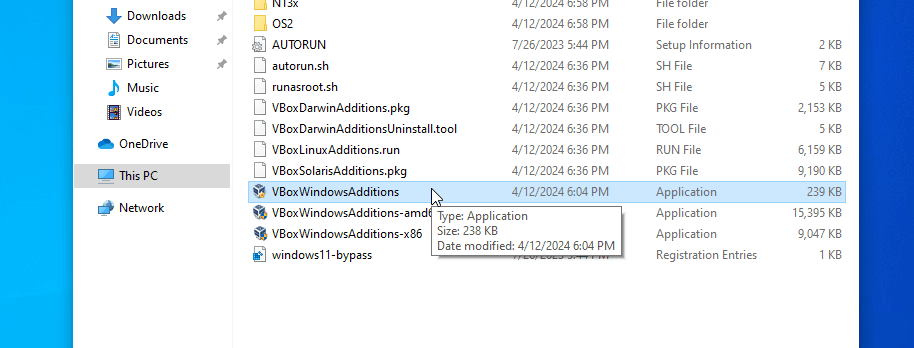
Double-click “VBoxWindowsAdditions” and follow the instructions (leave everything by default).
Reboot the VM.
Now, if you minimize and maximize the screen, it should now take the full width of your screen. If the tools installed correctly, you can now use the device tab and enable the drag & drop and the shared clipboard. Using these functions enables you to copy and paste between your host machine and your virtual machine.
Well done! you did it! We will now install the Linux system.
Installing Linux Mint
Installing it is pretty similar to Windows, first we must download the ISO file.
You can use the following link to download Mint Cinnamon.
Once you have downloaded the ISO file use the same steps as Windows 10 to create the new virtual machine and set the amount of RAM and disk space required. You can set it to 2-4GB of RAM and 25GB for the HDD.
In the type select Linux and in the version Ubuntu x64.
Click “Next”.
Set the GB for the HDD. You can use more if you would like to.
Start your virtual machine and select the ISO like we did for Win10.
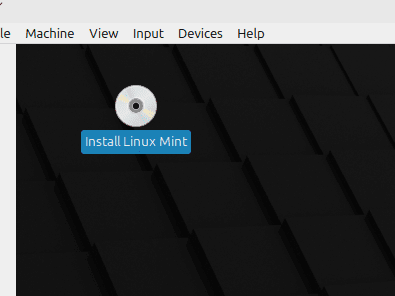
Click on (press enter) start Linux Mint, then once the system is loaded double-click on “Install Linux Mint”.
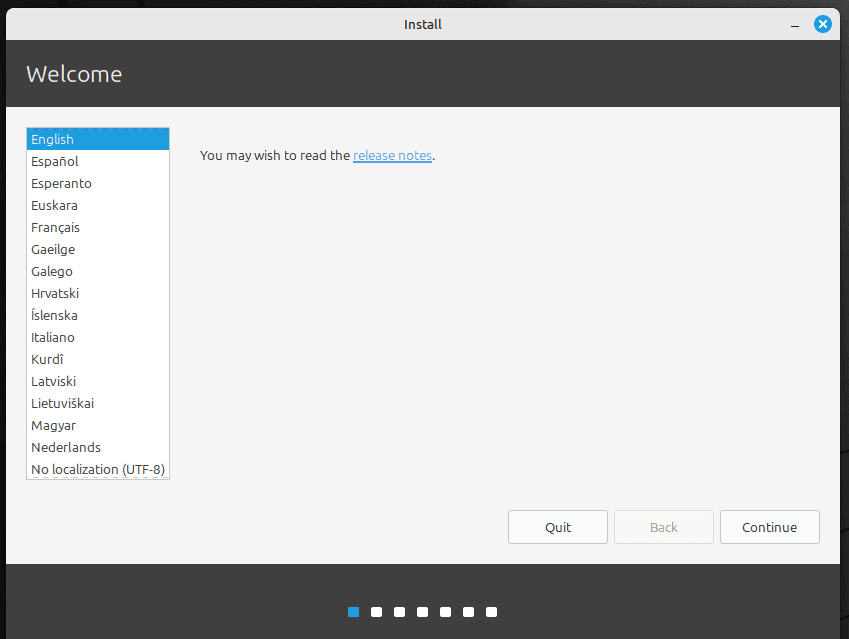
It should now launch the installer. You can select your language.
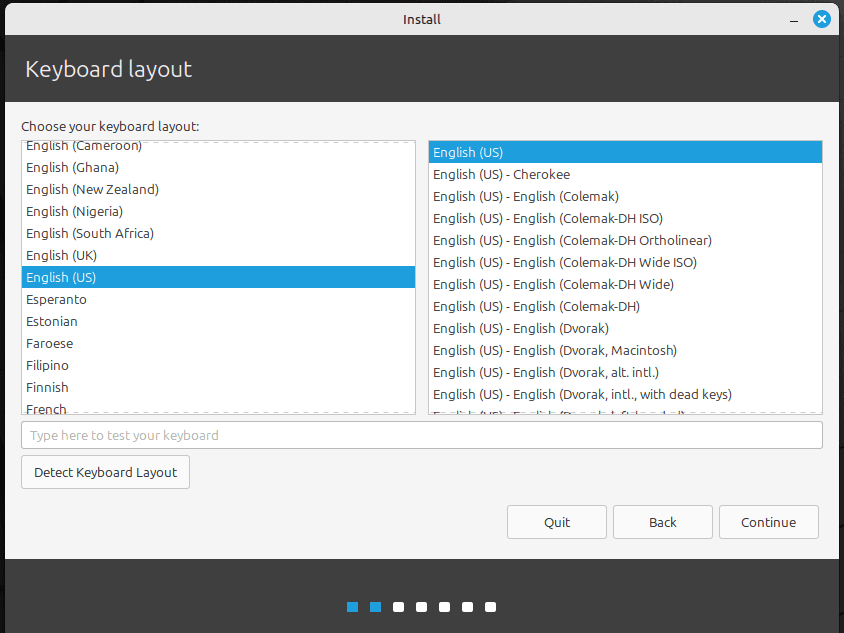
Click on continue and select your keyboard layout like you did in Windows.
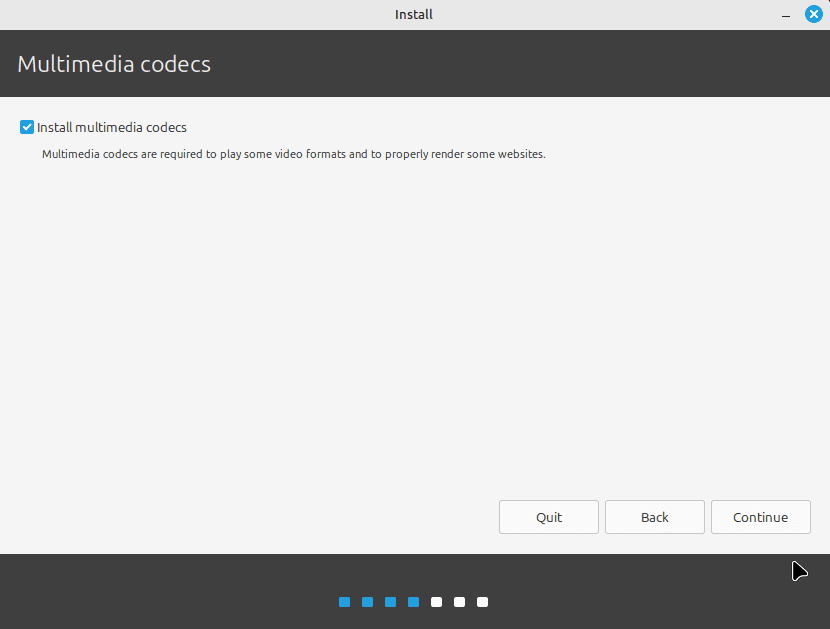
DO NOT FORGET THIS! Install the multimedia codecs.
Select erase disk and Install Linux Mint.
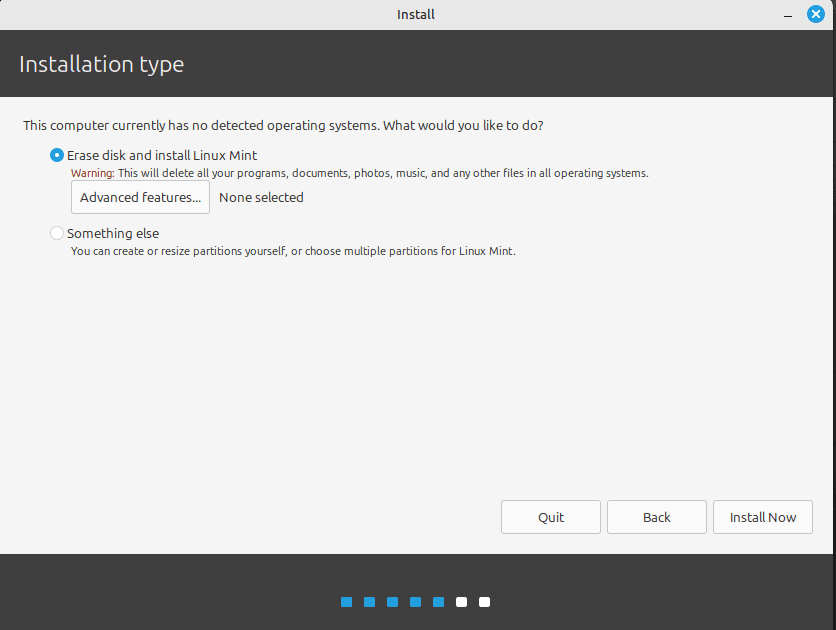
Finally, click on “Install Now”.
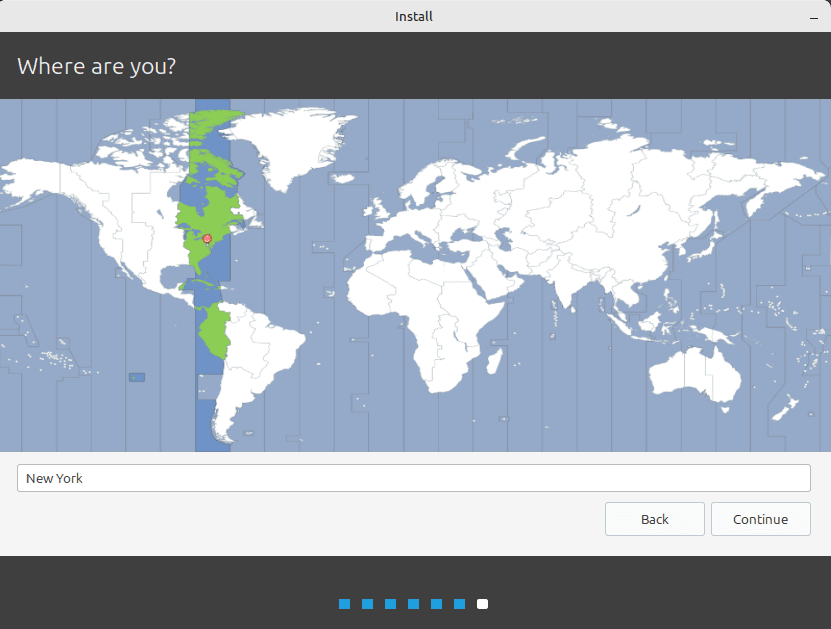
Select your timezone.
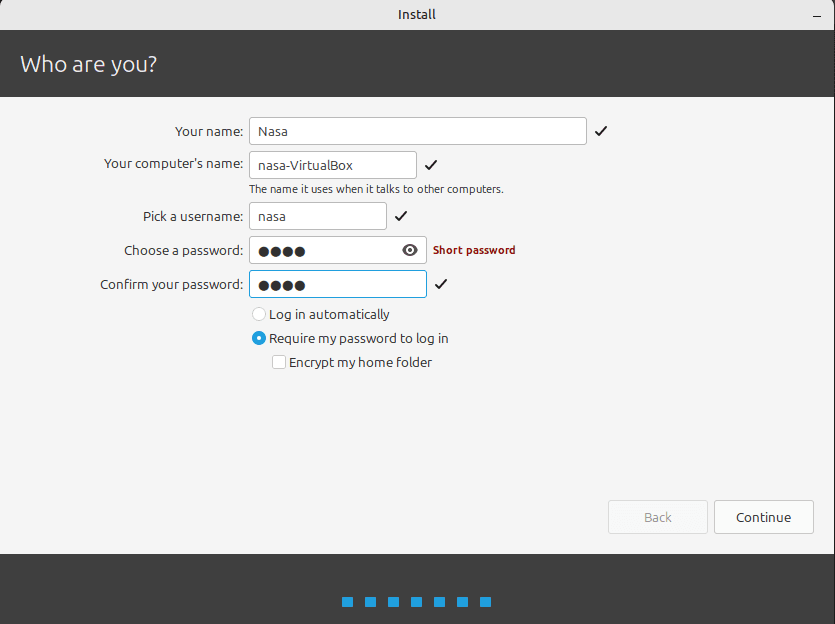
Now choose a username and password and click continue.
The only thing left to do is to wait! You can now take a break it shouldn’t take too long to install.
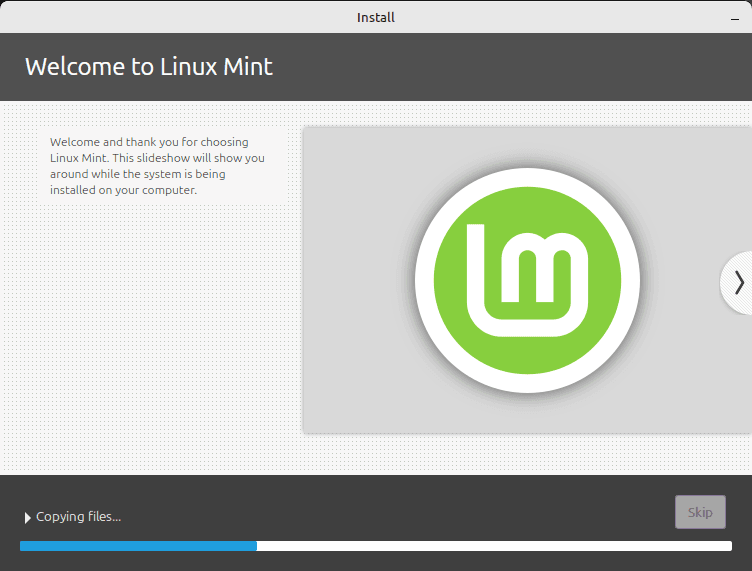
Once you are done installing you will see this :
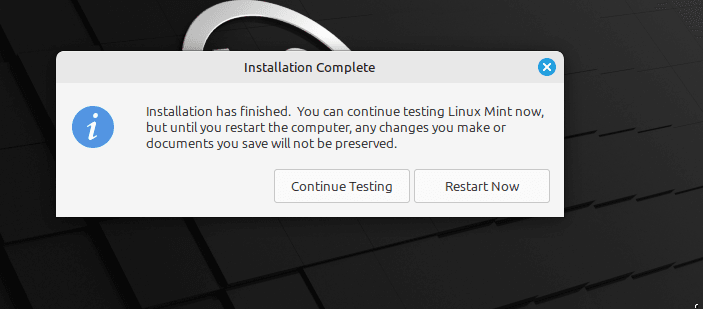
You can now restart the machine. When it says to remove the installation medium, just press enter.
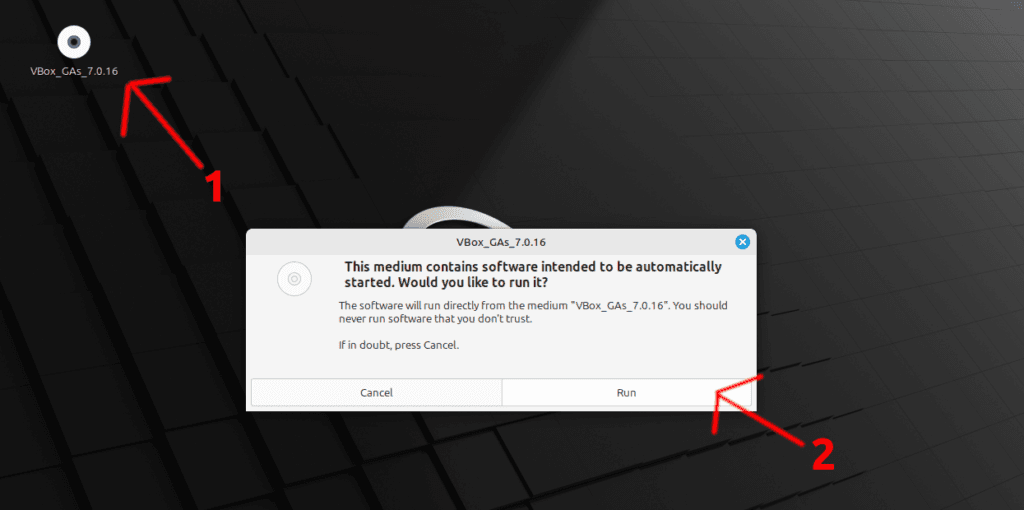
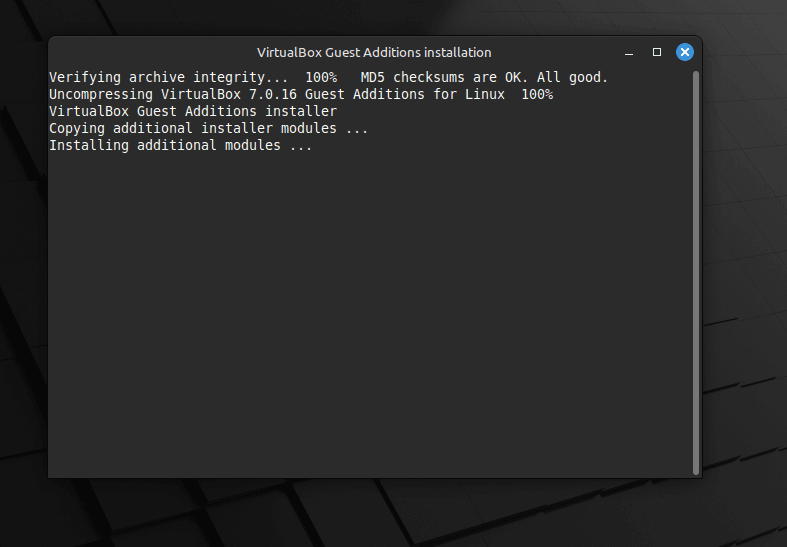
Installing Additional Tools for Mint
To install the additional tools in Linux Mint, you can do it the same way as Windows 10. Click on the device tab and then “Insert Guest Additions CD image…”. Once this is done, you will see a CD appear on the desktop, double-click on it and then click run.
Input your password.
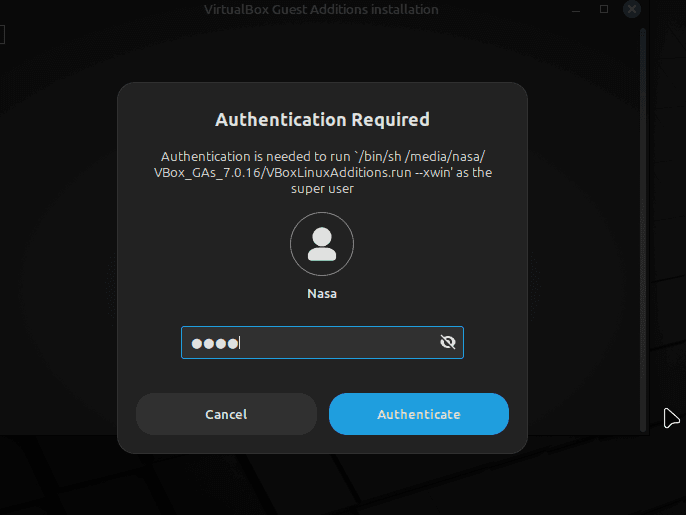
Now the tools will install themselves.
You can now press return (enter) when you see this :
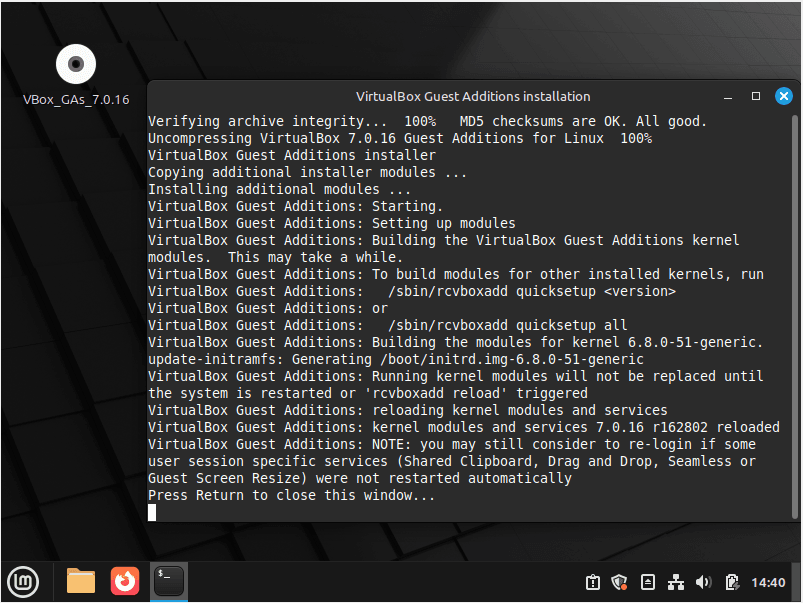
You can now reboot, if everything installed well, you should now be able to use all the functions. Same as Windows 10.
If for some reasons the tools doesn’t seem to install properly, you can find them here :
https://download.virtualbox.org/virtualbox
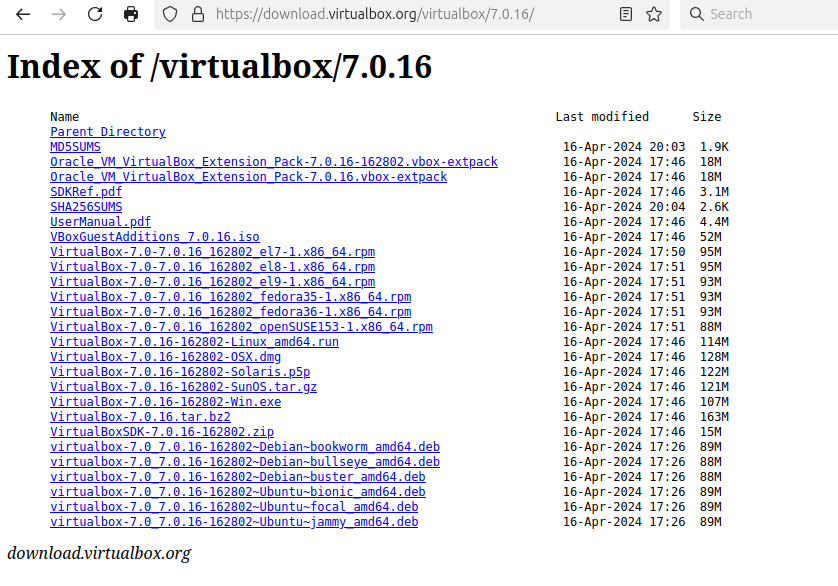
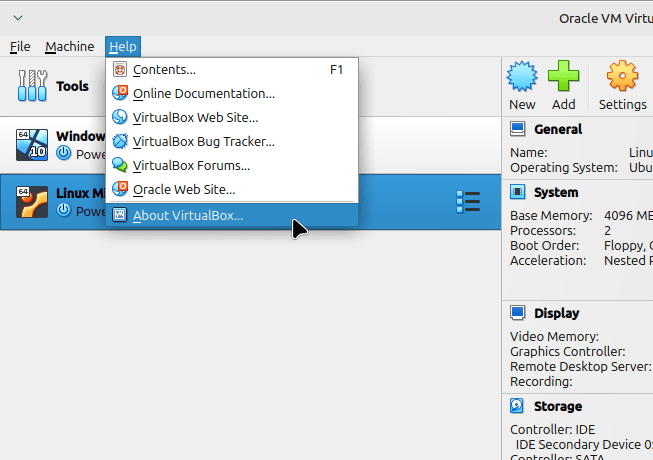
You need to download the proper tools for your VirtualBox version. You can find this if you click on Help –> about VirtualBox.
Challenge! Install Windows 11
Now that you have succesfully installed Windows 10 and Linux Mint, I challenge you to install Windows 11 by yourself! If you can’t do it, I will provide a video in the future to show you how.
macOS
Concerning macOS, since we can’t install it in a virtual machine without breaking the EULA, I found these websites to give you an idea of how the system look:
https://mhmdmhd6.github.io/Mac-OS-Desktop
I also found this cool website for older mac versions, It won’t be useful to us but It’s pretty neat check it out : https://infinitemac.org/
Cloning Your Virtual Machine
To clone your virtual machine in VirtualBox, simply right click on it and then select “Clone…”. You can also use the keyboard shortcut CTRL + O.

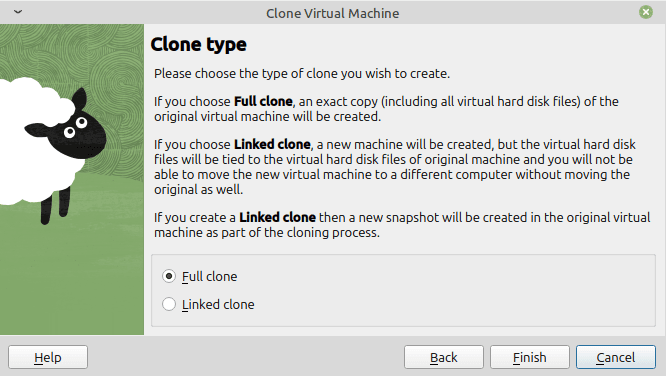
Then select the options that you want to apply to your clone.

I usually let most of the options by default, except the name. I do a full clone of the machine to be sure that it doesn’t affect my other VM3.
Finally, click finish and everything should be cloned in the following minutes.
Deleting Your Virtual Machine
To delete your virtual machine :
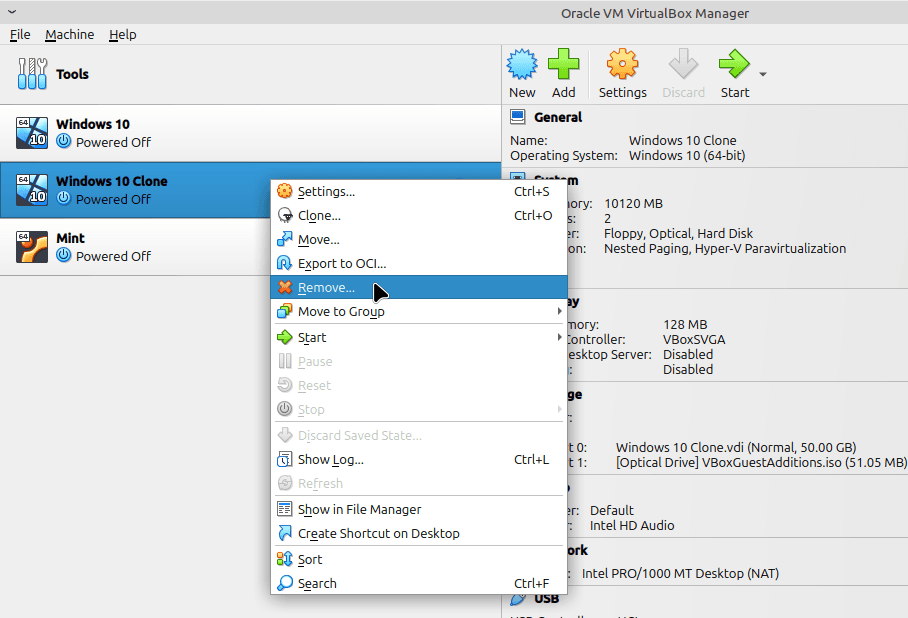
Right click on it and then select “Remove…”.
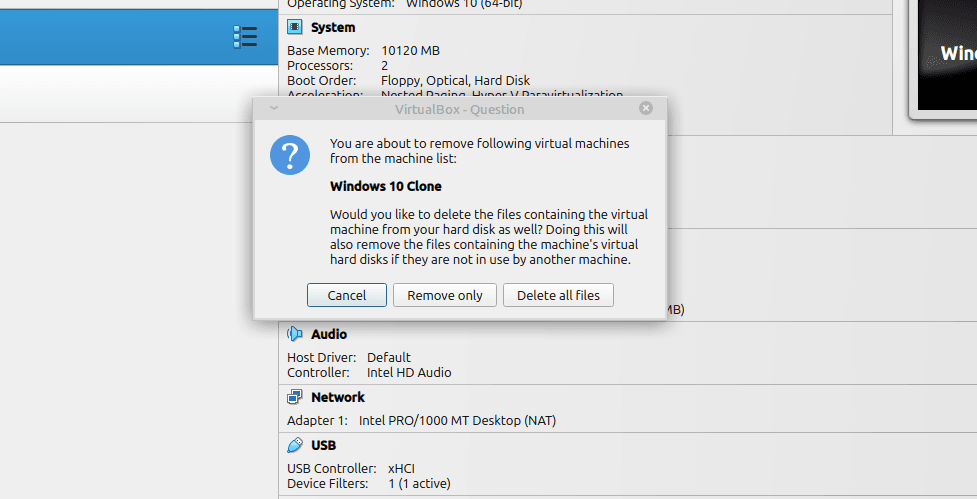
You now have the option to “Remove only” or “Delete all files”. I always choose “Delete all files” to make sure that I can reuse the name and to make sure that it doesn’t take space on my HDD4.
Access The Full List Of Chapters From Here
- Support for Windows 10 is set to end on October 14, 2025. After this date, Microsoft will no longer provide security updates, bug fixes, or technical support for Windows 10. ↩︎
- Boot = The process of starting up the computer and loading the operating system into the computer’s memory ↩︎
- VM = virtual machine ↩︎
- HDD = hard drive ↩︎