
USB Printer Setup
USB printers are pretty straight forward to setup. You usually need 2 cables, one for the power and one for the DATA.
The DATA cable is a USB-A-Male to USB-B-Male. Like this one :

- One 16-foot-long high-speed multi-shielded USB 2.0 A-Male to B-Male cable
- Connects mice, keyboards, and speed-critical devices, such as external hard drives, printers, and cameras to your comput…
- Constructed with corrosion-resistant, gold-plated connectors for optimal signal
All you have to do to set up a USB printer is connect the power cable to the wall and the USB cable to the computer. Typically, these types of printer support USB connection only, but some of them have Wi-Fi functionality. Once you have powered on the device, most operating system will instantly detect the printer and install it, we call this operation Plug & Play. Sometimes, the system won’t detect the printer. In that case, you will need to find the printer brand & model and download the appropriate driver on the manufacturer website or using the CD or instruction manual in the printer box.
Wi-Fi Printer Setup
In 2025, these types of printer are the most frequent. Some of them have a small screen to help you set up the Wi-Fi on them, but sometimes they do not. When a screen is not present, you will have to configure the wireless network using the printer software.
Consumer Printer Troubleshooting
Shutting Down the Printer
Find the on/off button, stop or exit button and then hold it for 30 seconds until the printer shut off.
Example :
Changing the Ink
To change the ink on consumer printers, usually there’s a button on the side or a latch to release the front panel. Open it and then remove the ink cartridge according to the manual or the drawings inside the printer.
Example :
Removing Stuck Paper
Some printers will show you a video or a GIF on the screen (mostly business printers) and the location where a problem occurred. Most of them won’t. You can locate a panel that can be opened and look inside for any stuck paper, you can also remove the tray at the bottom of the printer to see if a piece of paper is stuck there.
Example :
Business Printer Setup
99% of the time, if you work as a computer technician, you won’t have to set up a business printer. But, it’s good to know a few things about them. Most of the time, if it’s not always, system admins will set up these types of printers.
Business Printer Troubleshooting
Shutting Down the Printer
To shut down a business printer, you must find the on/off switch or if you have admin access you can shut it down using the printer screen.
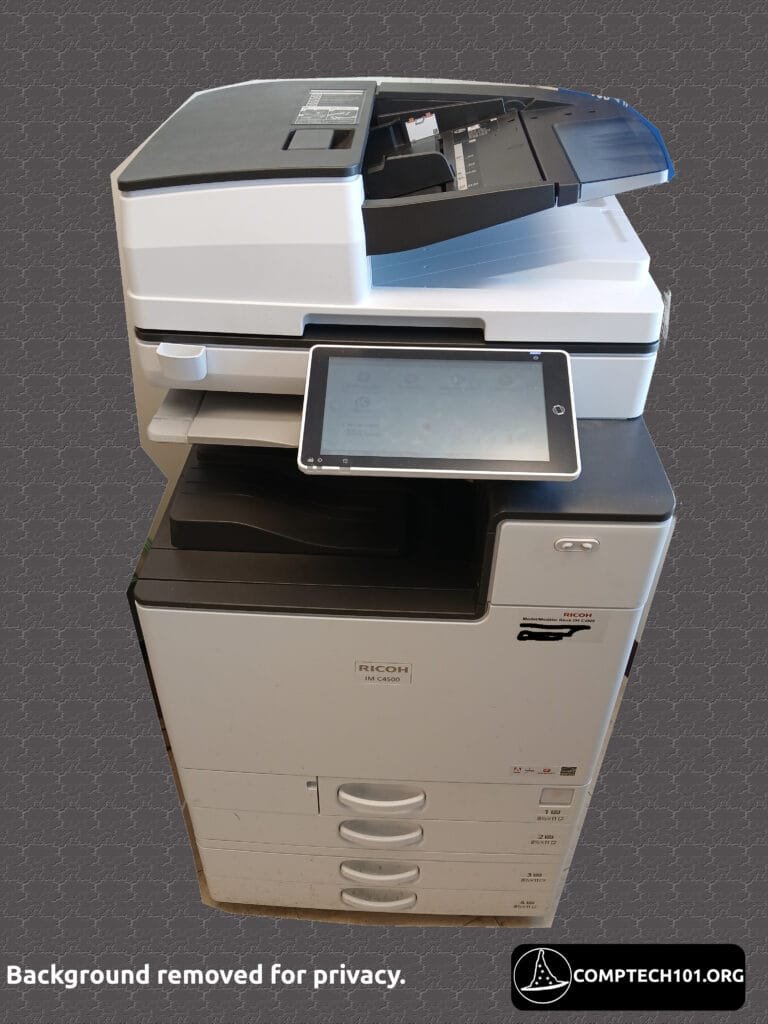
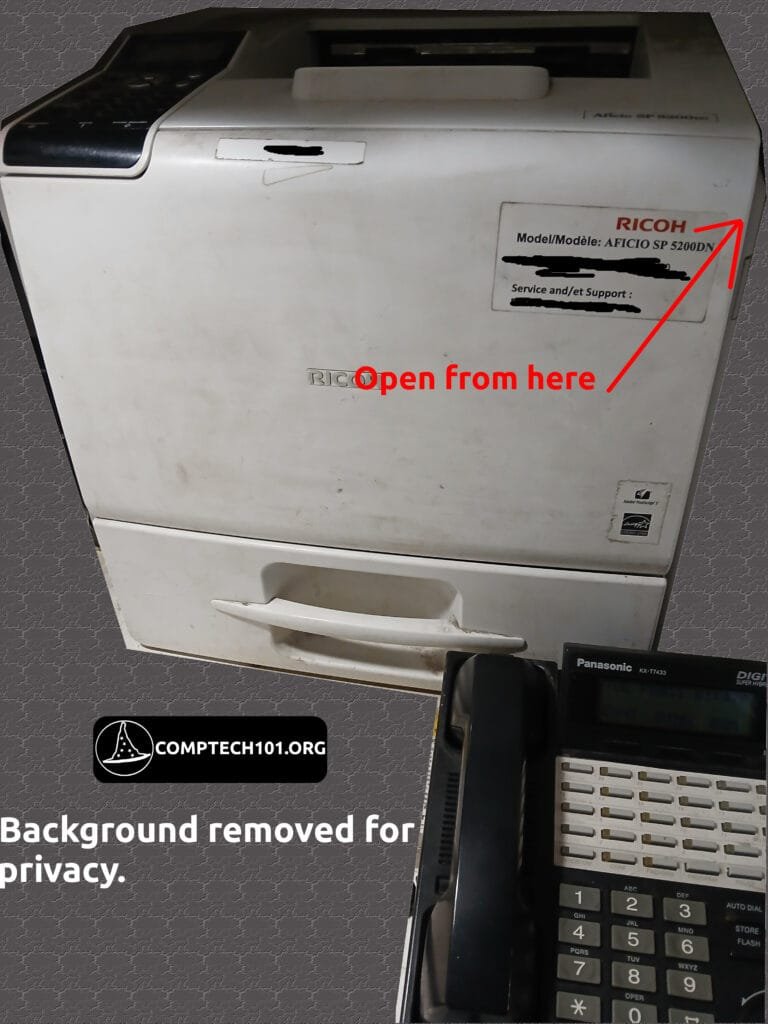
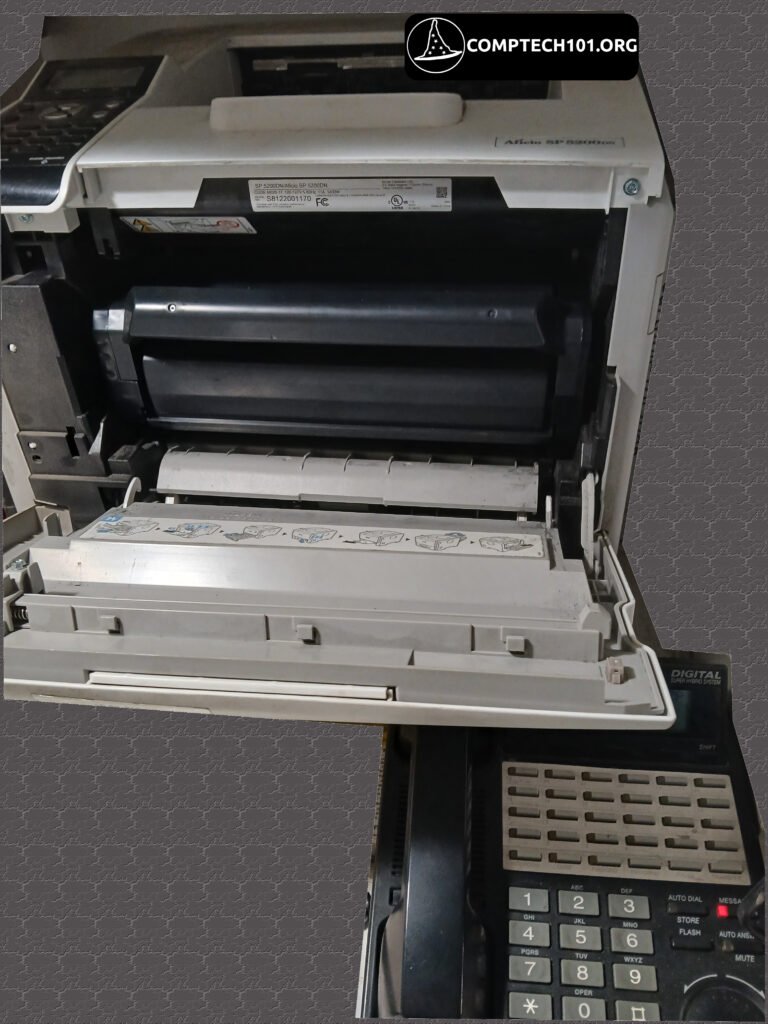
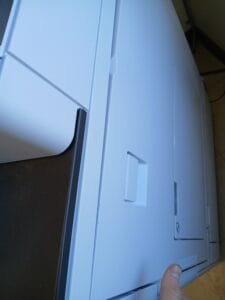
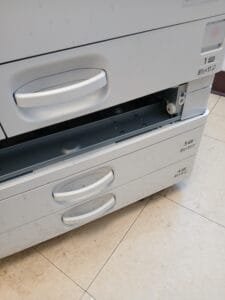
Sometimes, the button is really hard to find, like on this Ricoh printer :

The on/off button is under a latch, hold it for 30 seconds and the printer will shut itself down. To start it, simply press the button again. If you can’t find the on/off button, you can always look up the brand & model on Google to find the instruction manual.
Changing the Ink
There are two common types of printer ink cartridge :
For smaller desk printers, you should be able to open it from the front using a button on the side or a latch. The new cartridge will have a plastic cover that you need to remove. Remove the plastic, shake the cartridge a little and insert it inside the slot the same way you took out the old one.
Example (Small printer):
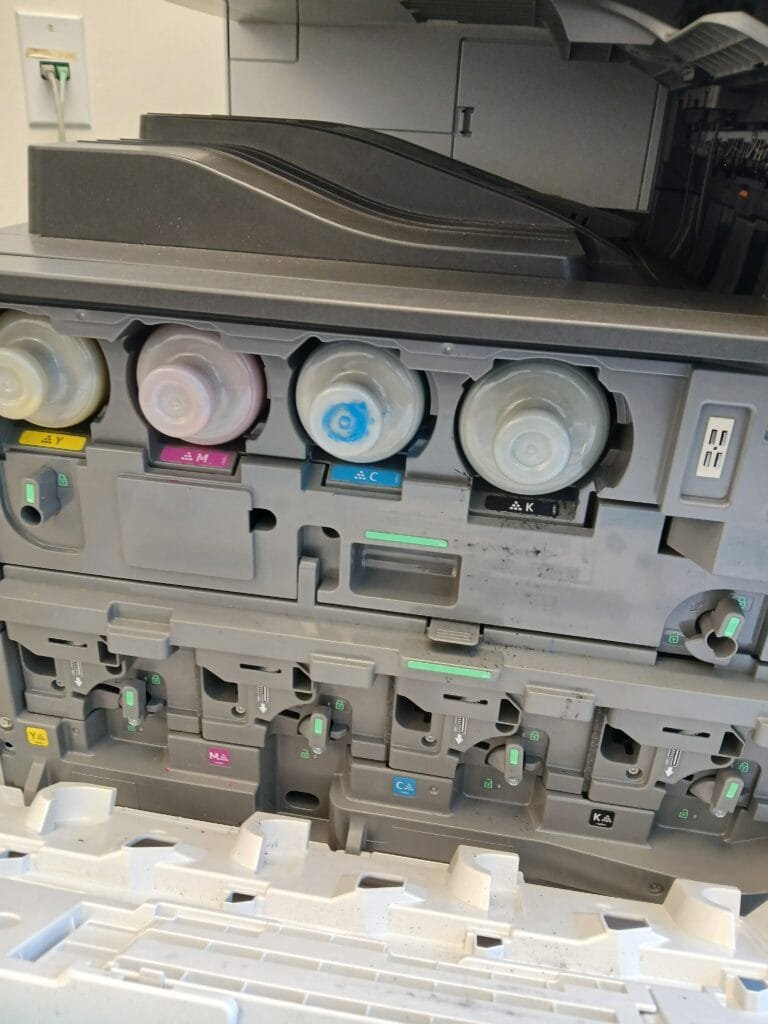
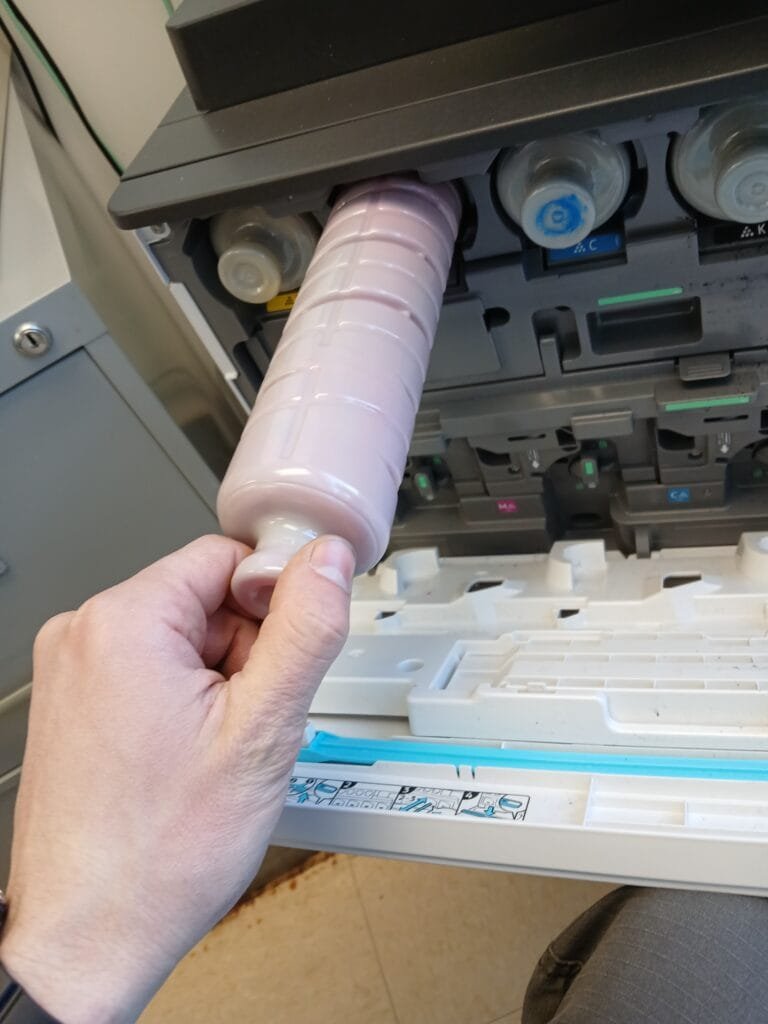
Ricoh printers & similar sized printers
In those types of printers, you will have tubes that you can take out and change or if you are experienced and authorized to do so, refill.
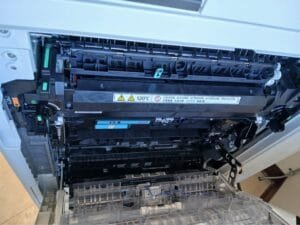
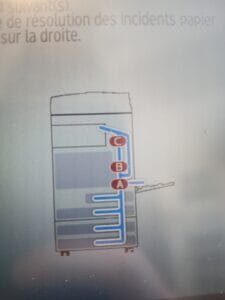
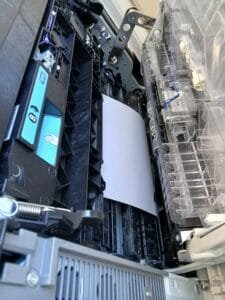
Removing Stuck Paper
To remove stuck papers, follow the instructions on the printer screen or if the printer doesn’t have one, you can always open the panels on all sides and look inside. In 95% of cases, you can also remove the paper tray to have access to the inside of the printer. Once you find the stuck paper, carefully remove it and make sure that there’s nothing left. Close all the panels and the printing should resume by itself.
Printer Functions
Faxing
99% of the time you will not use this function because it’s really starting to be old, but faxing is a way of sending a scanned document via a telephone line or the internet. Most of the time, doctors use this method of sending documents because it’s considered secure and because most hospitals do not share the same systems. Using Fax is a great way to make sure that everything is cross compatible.
Copying
To copy a document, open the copy/scan lid and put your piece of paper on the glass. Once this is done, close the lid and then use the copy function to copy & print your page (typically on a small screen on the printer or using the software bundle with the printer driver).
Scanning
Scanning documents is a great way to convert a piece of paper into a digital documents. All you have to do is open the printer scanning lid and then put your paper using the instructions that are written on the printer and then close it. Open your computer, open your scanning software (frequently bundled with the driver when installing the printer). And press scan to scan the document and send it to your computer.